# How to create a Pull Request in a Media Group
Marfeel provides the easiest workflow for automated builds, triggered right from GitHub. In this walkthrough, you'll learn how to continuously build, preview changes and deploy your site using Marfeel Platform.
To get started, log into your GitHub Media Group repository.
# Step 1: Create Pull Request
Follow the steps below to create a pull request:
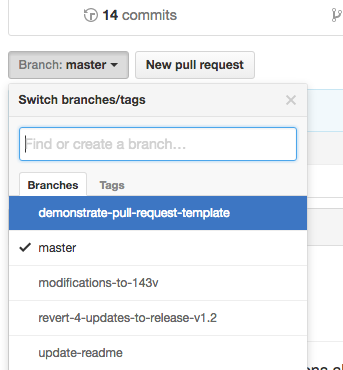
Navigate to the main page of the repository
In the
Branchmenu, choose the branch that contains your commits
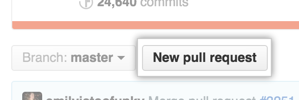
- On the right of the Branch menu, click
New pull request
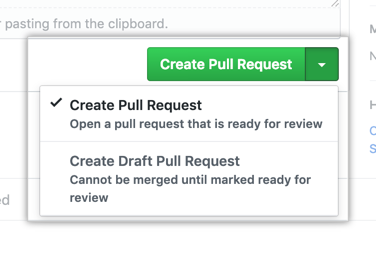
- Click the
Create Pull Requestbutton to create a pull request that is ready for review
TIP
At this point, Marfeel will run automatic checks, such as linting, regression & unit tests to validate your pull request. Once all checks have passed, a Preview Branch is generated with your changes.
# Step 2: Preview Changes
When a pull request is created, the Preview Branch build pipeline is automatically triggered for your branch. You can track the status of each step of the pipeline from the GitHub UI, see below:
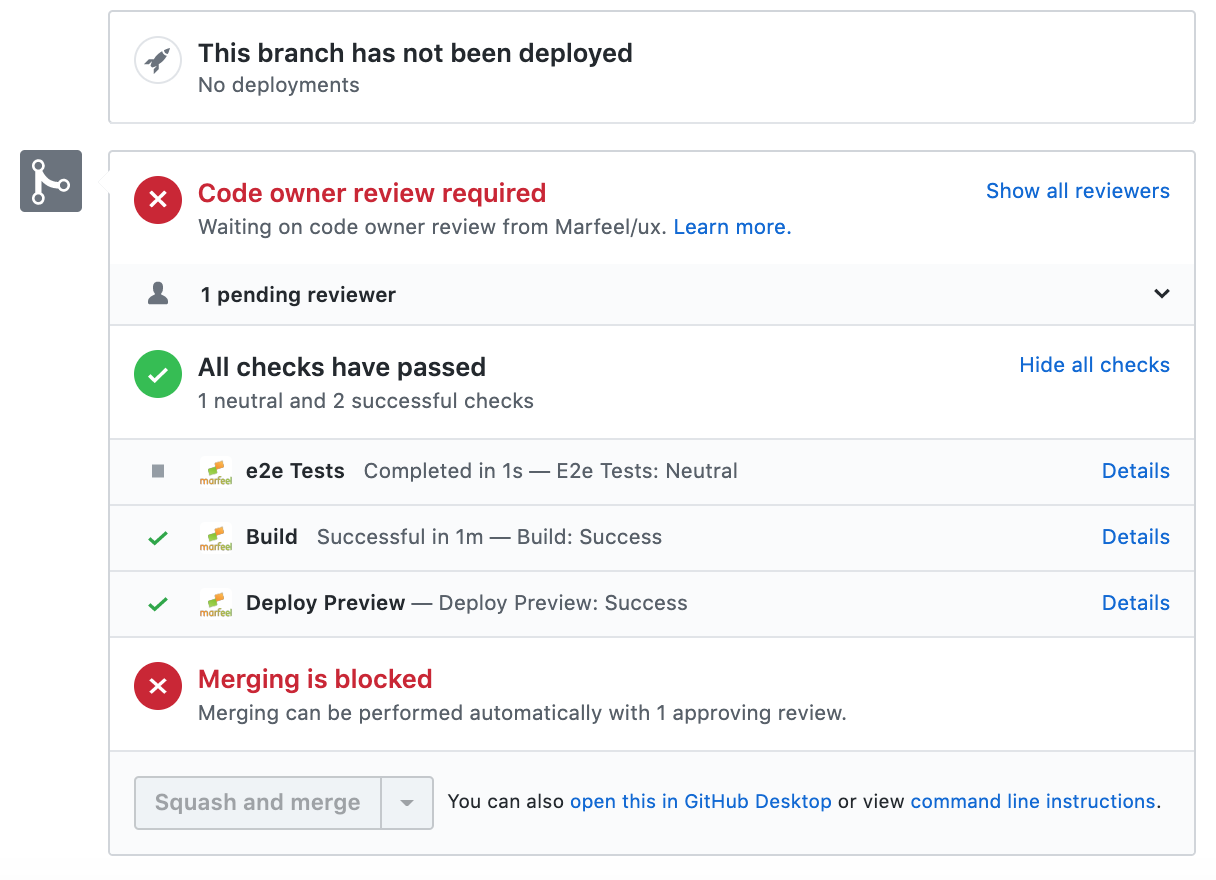
As shown above, the different steps of the build pipeline are represented as checks in the GitHub pull request page. Refer to the pull request pipeline diagram for a high-level view of all the build steps in the Preview Branch pipeline.
Each step is run and marked as either success or failure. Click on the details link to open up the Checks tab and access the output logs of a specific build step.
Upon successful execution of a Preview Branch, you'll find the pull request branch URLs listed under tab Checks > Branch Preview as shown below.
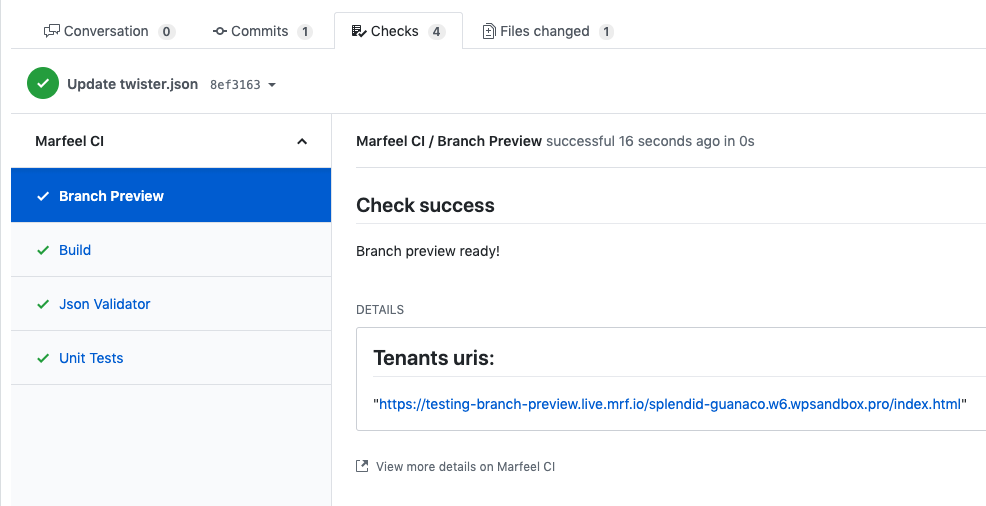
TIP
The generated Preview Branch URL is valid for as long as the branch exists in the Git repository
# Step 3: Merge & Deploy
If all checks have passed, and the repository code owner(s) have approved your pull request, click on the Squash and merge button to merge your changes in master. This will automatically trigger a new Production Deploy.
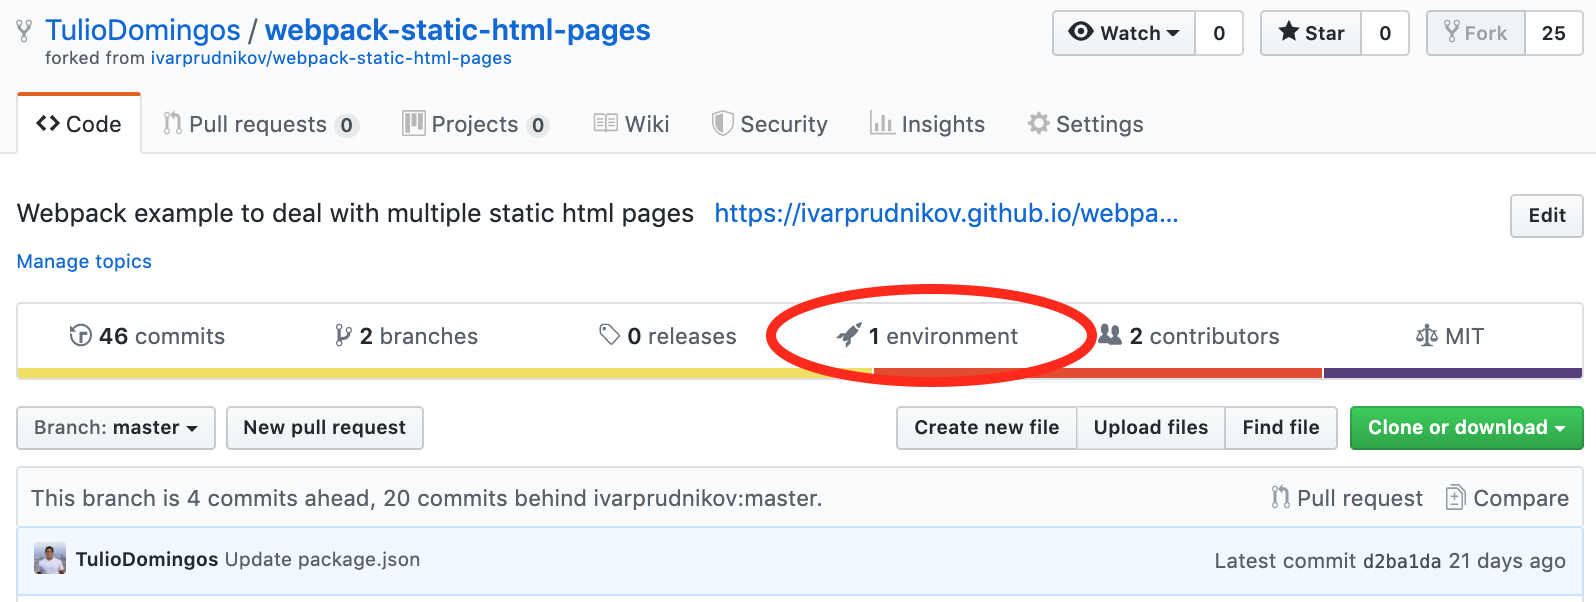
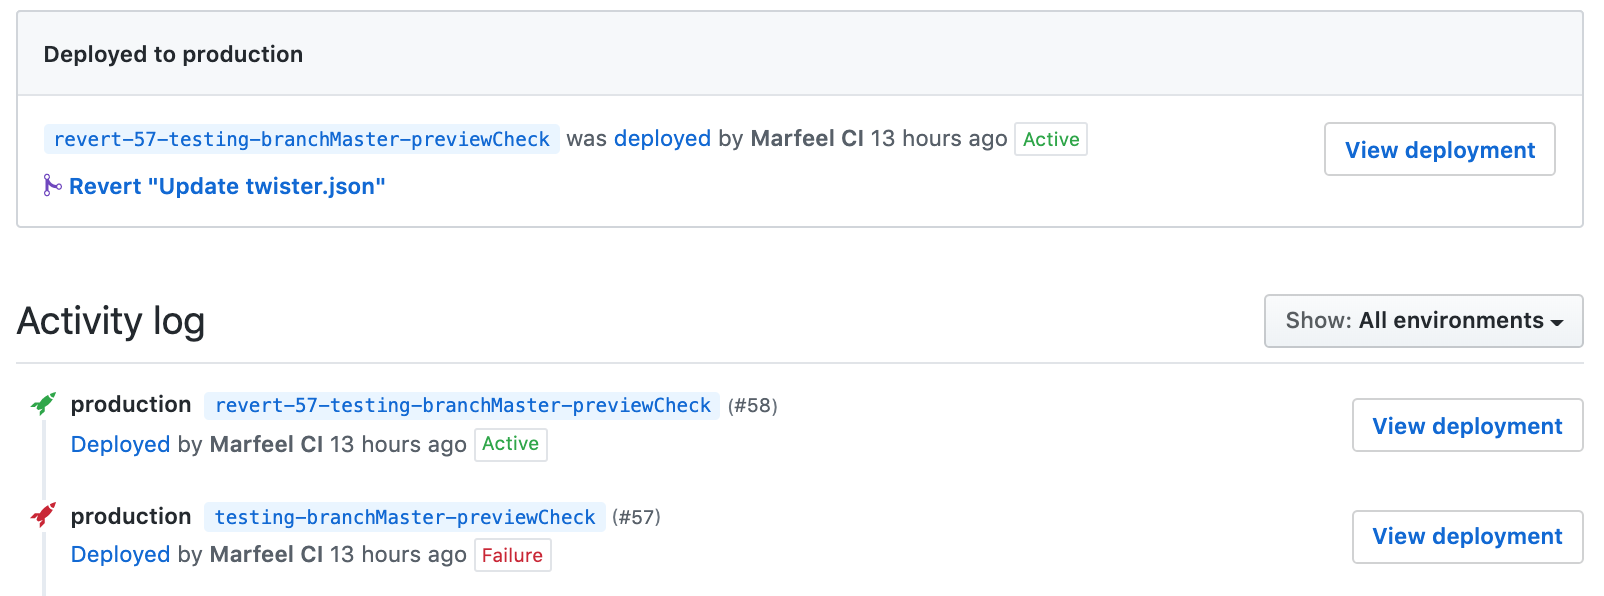
Once executed, a new deployment entry will be listed in the environment tab of your repository.
Simply click on the View deployment button to navigate to your site and view your changes applied in live.
TIP
Refer to the build pipeline diagram for a high-level view of all the build steps performed as part of the Production Deploy