
Connect your Stripe account to MarfeelPass
MarfeelPass directs user payments to your connected Stripe Account, giving you complete visibility and straightforward transaction management. For a full overview of how payments work, see the dedicated guide.
To connect your Stripe account to MarfeelPass, complete these five steps:
- Set up the Stripe integration on the Marfeel Admin Console
- Verify your Stripe account
- Add the domains to authorize payments on
- Verify the domains for Apple Pay
- Customize the invoice email template
Micropayments are now automatically enabled when connecting a new Stripe account.
Stripe connected account creation
Section titled “Stripe connected account creation”To link your Stripe account to Marfeel, follow these steps:
-
Set up the Stripe Integration on Marfeel Admin Console:
- Log in as an Admin to Marfeel
- Navigate to Integrations > Others, and click the
Connectbutton inside the Stripe box.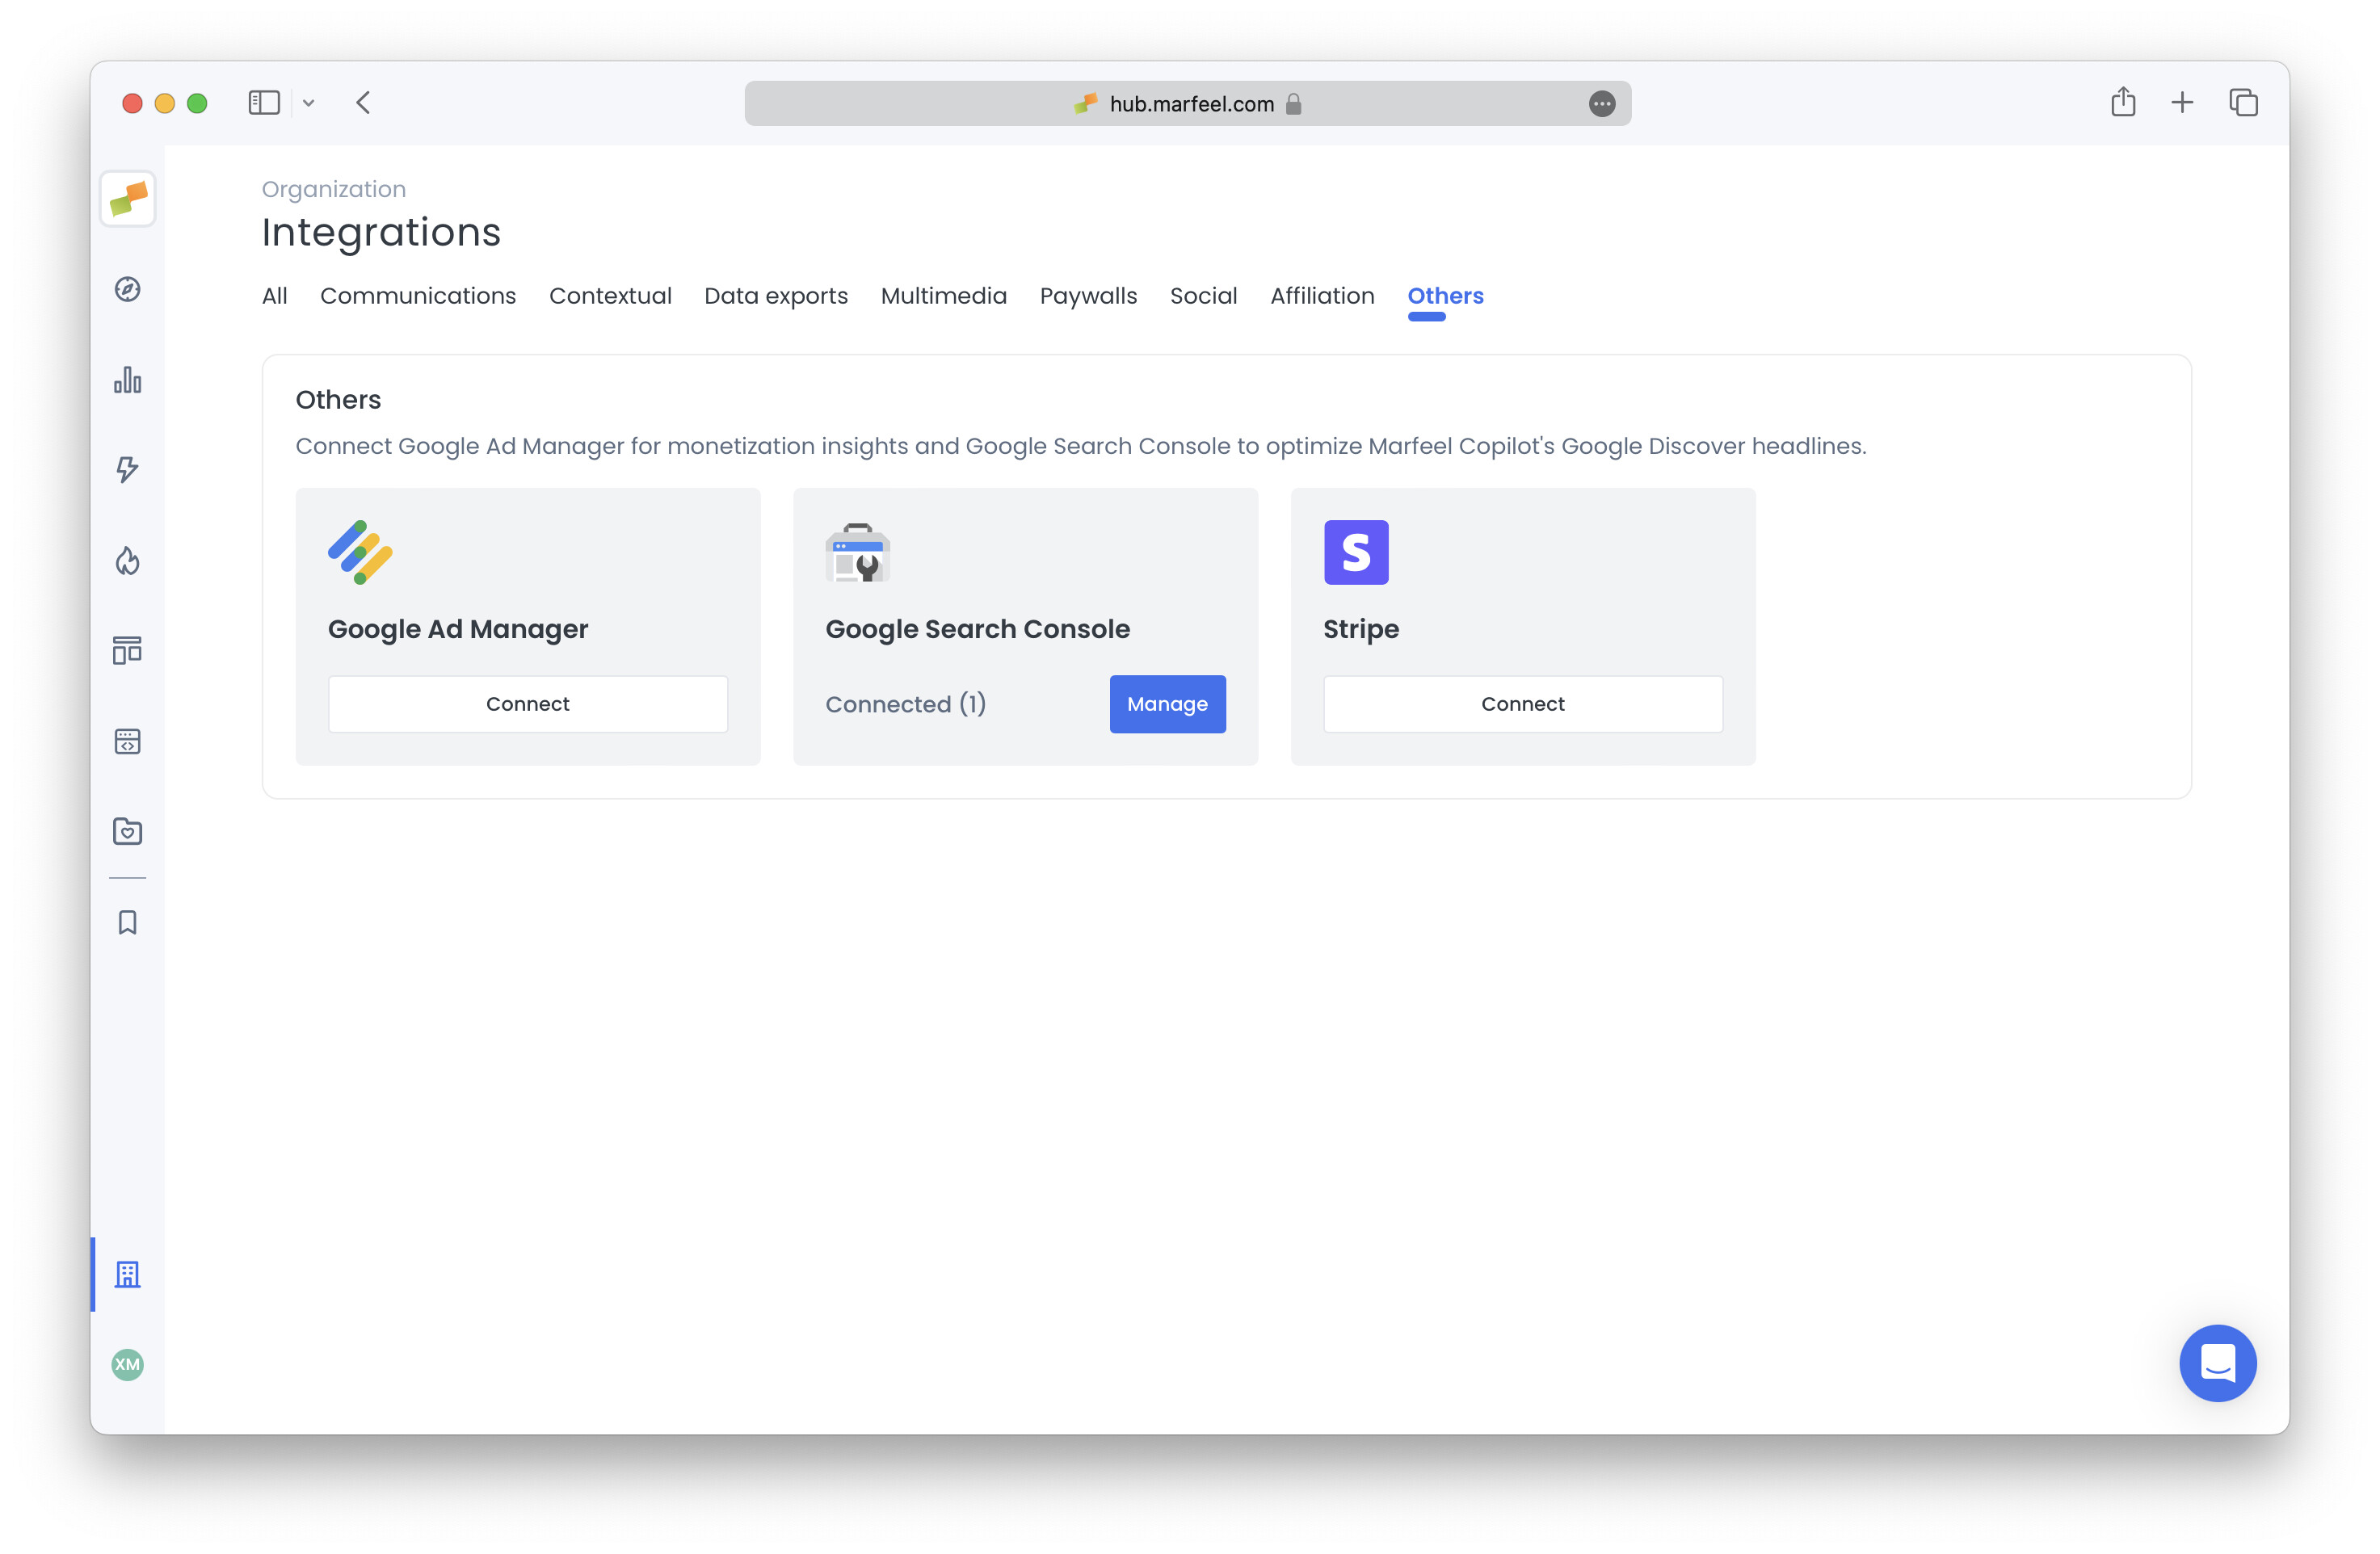
-
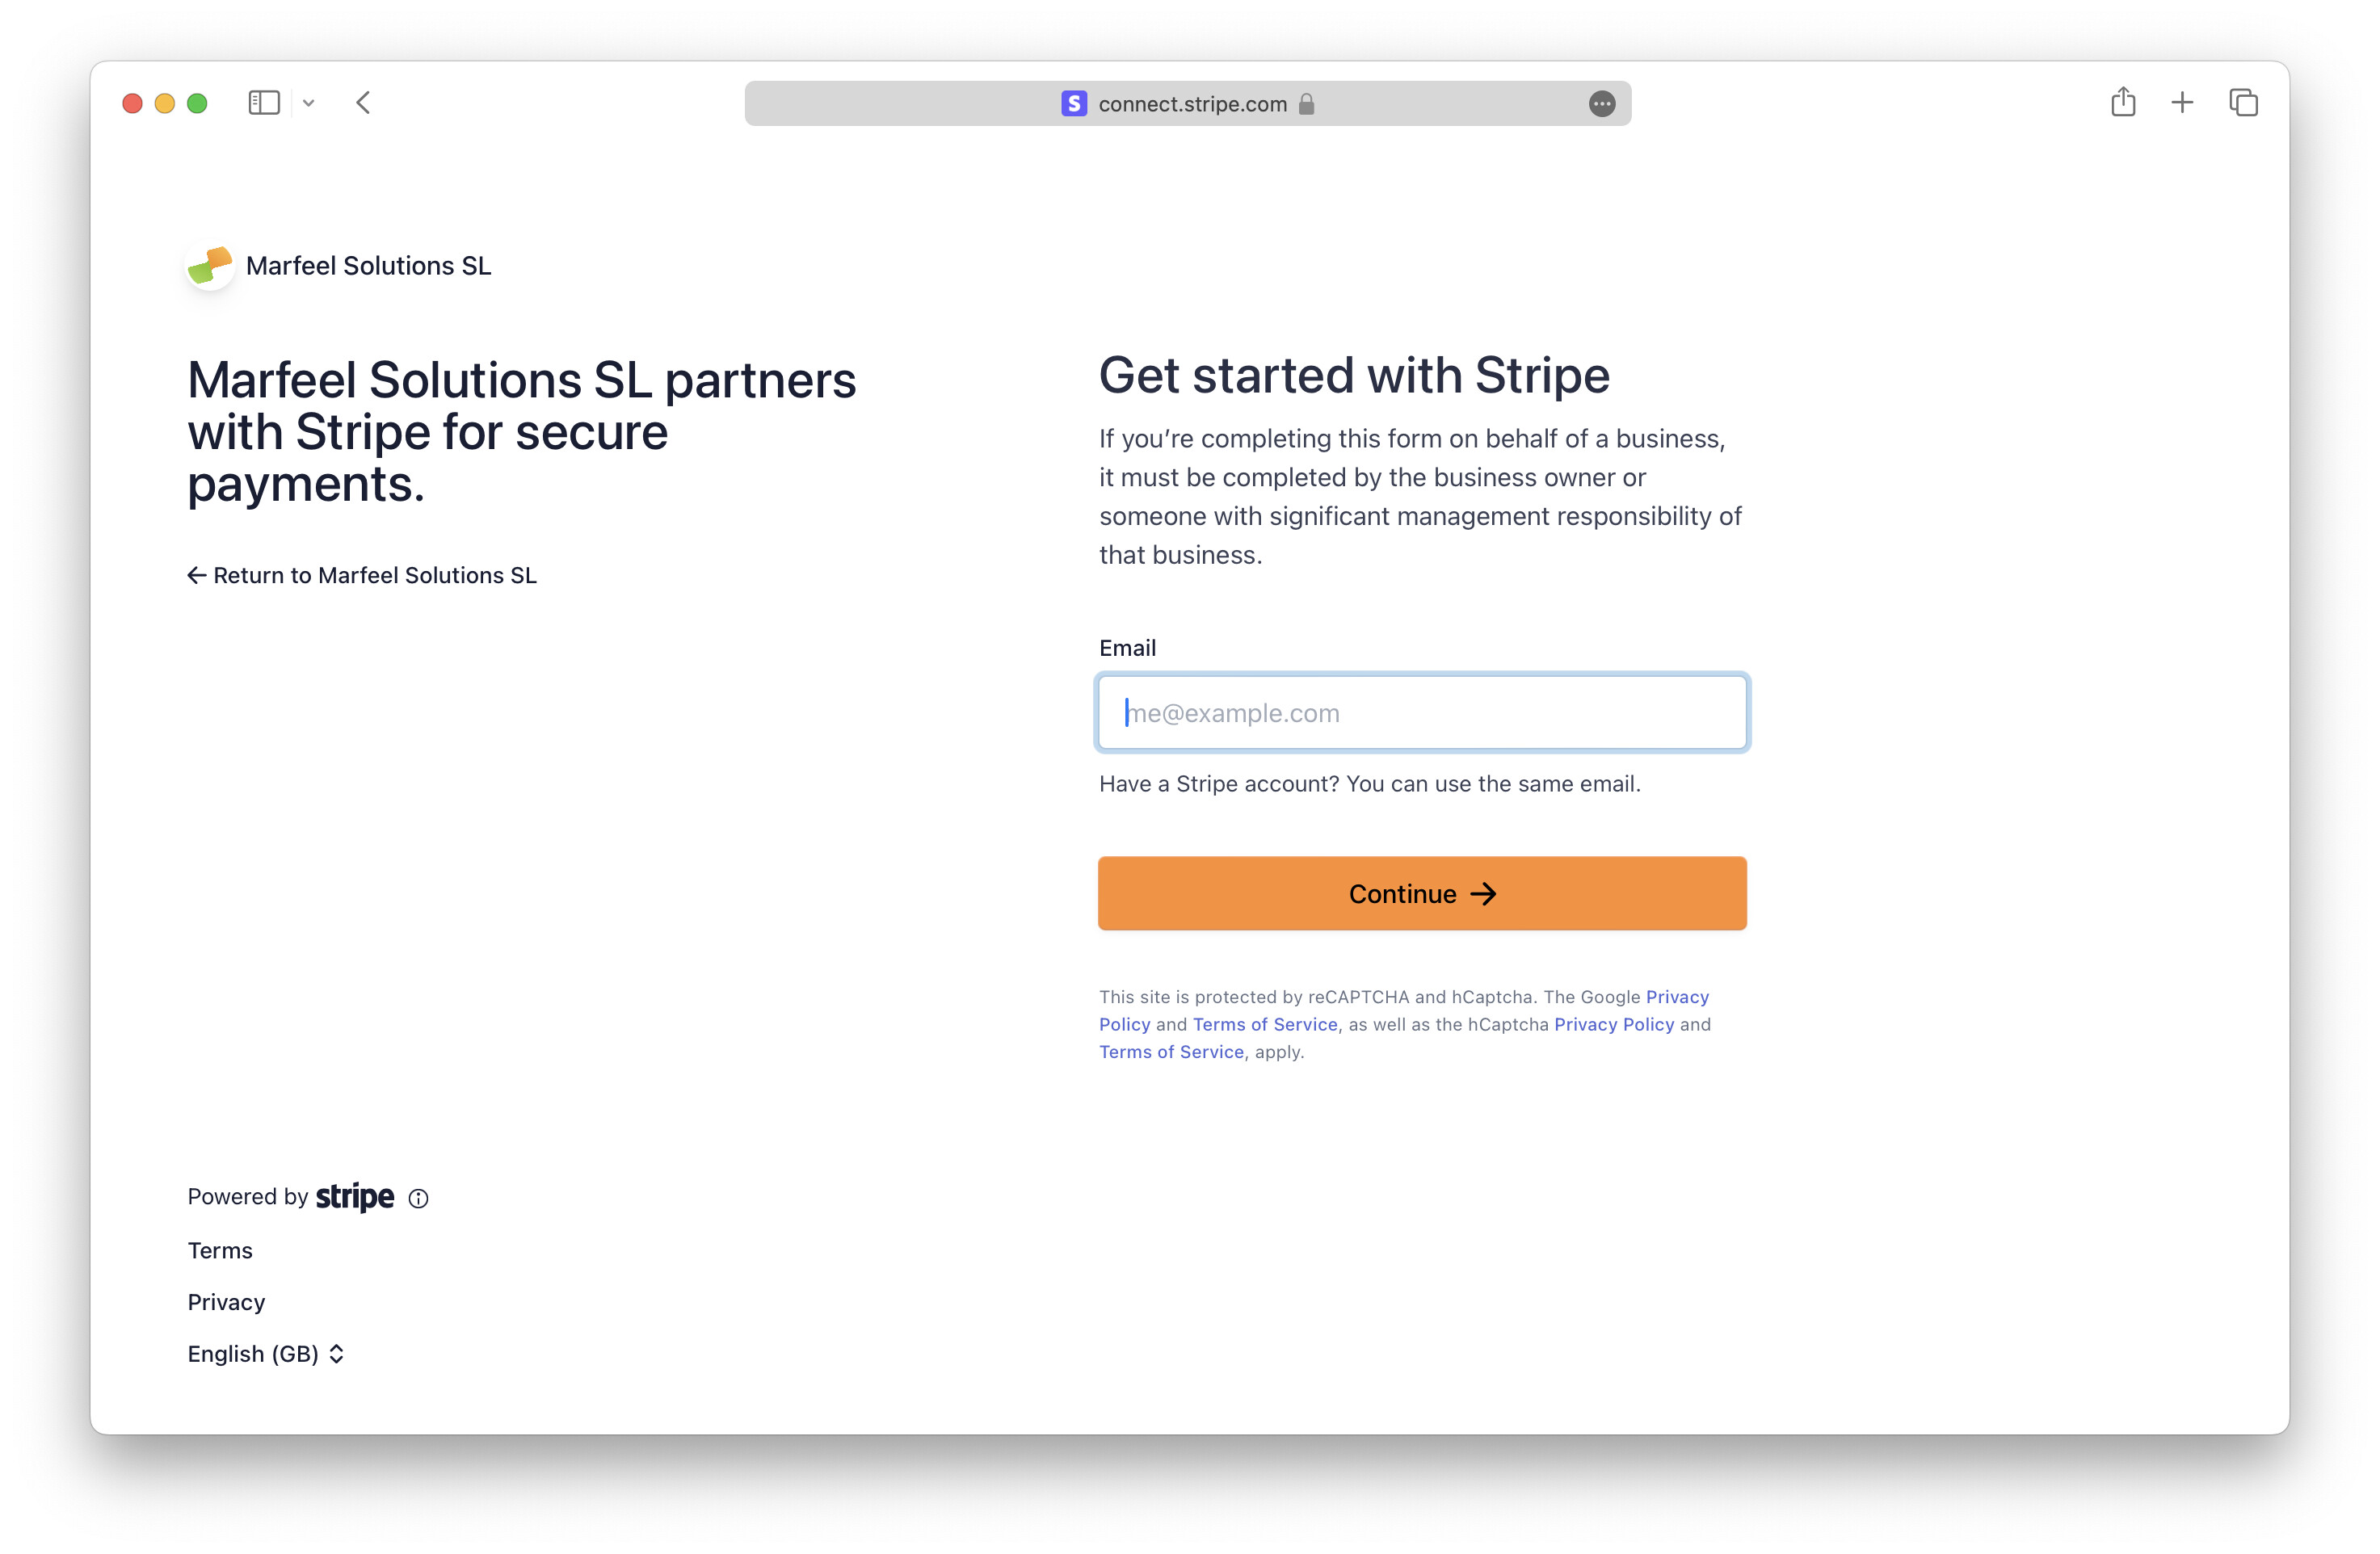
Stripe onboarding:
- You will be redirected to Stripe’s onboarding screen.
- You will be asked to create a new account. If you already have one, you can use the same email and business data from any other account. Creating a new account is necessary to inherit micropayments fees from Marfeel.
- If you stop the onboarding at any point you can resume it from the integration panel.
-
Follow the steps:
- Add email and generate a password.
- Provide a valid phone number and choose a 2-factor authentication method.
- Select business location, type, and structure.
- Enter business legal details (legal name, Tax ID number, address, phone number, industry, and website).
- Enter personal details as a business representative.
- Add bank account details.
- Specify the statement descriptor for your customers’ statements.
-
Complete Marfeel’s integration:
- After setting up the Stripe account, you will be redirected back to Marfeel’s integration page, completing the process.
- After setting up the Stripe account, you will be redirected back to Marfeel’s integration page, completing the process.
Verify your Stripe account
Section titled “Verify your Stripe account”Access your Stripe account directly and complete identity verification.

Configure your domains on MarfeelPass
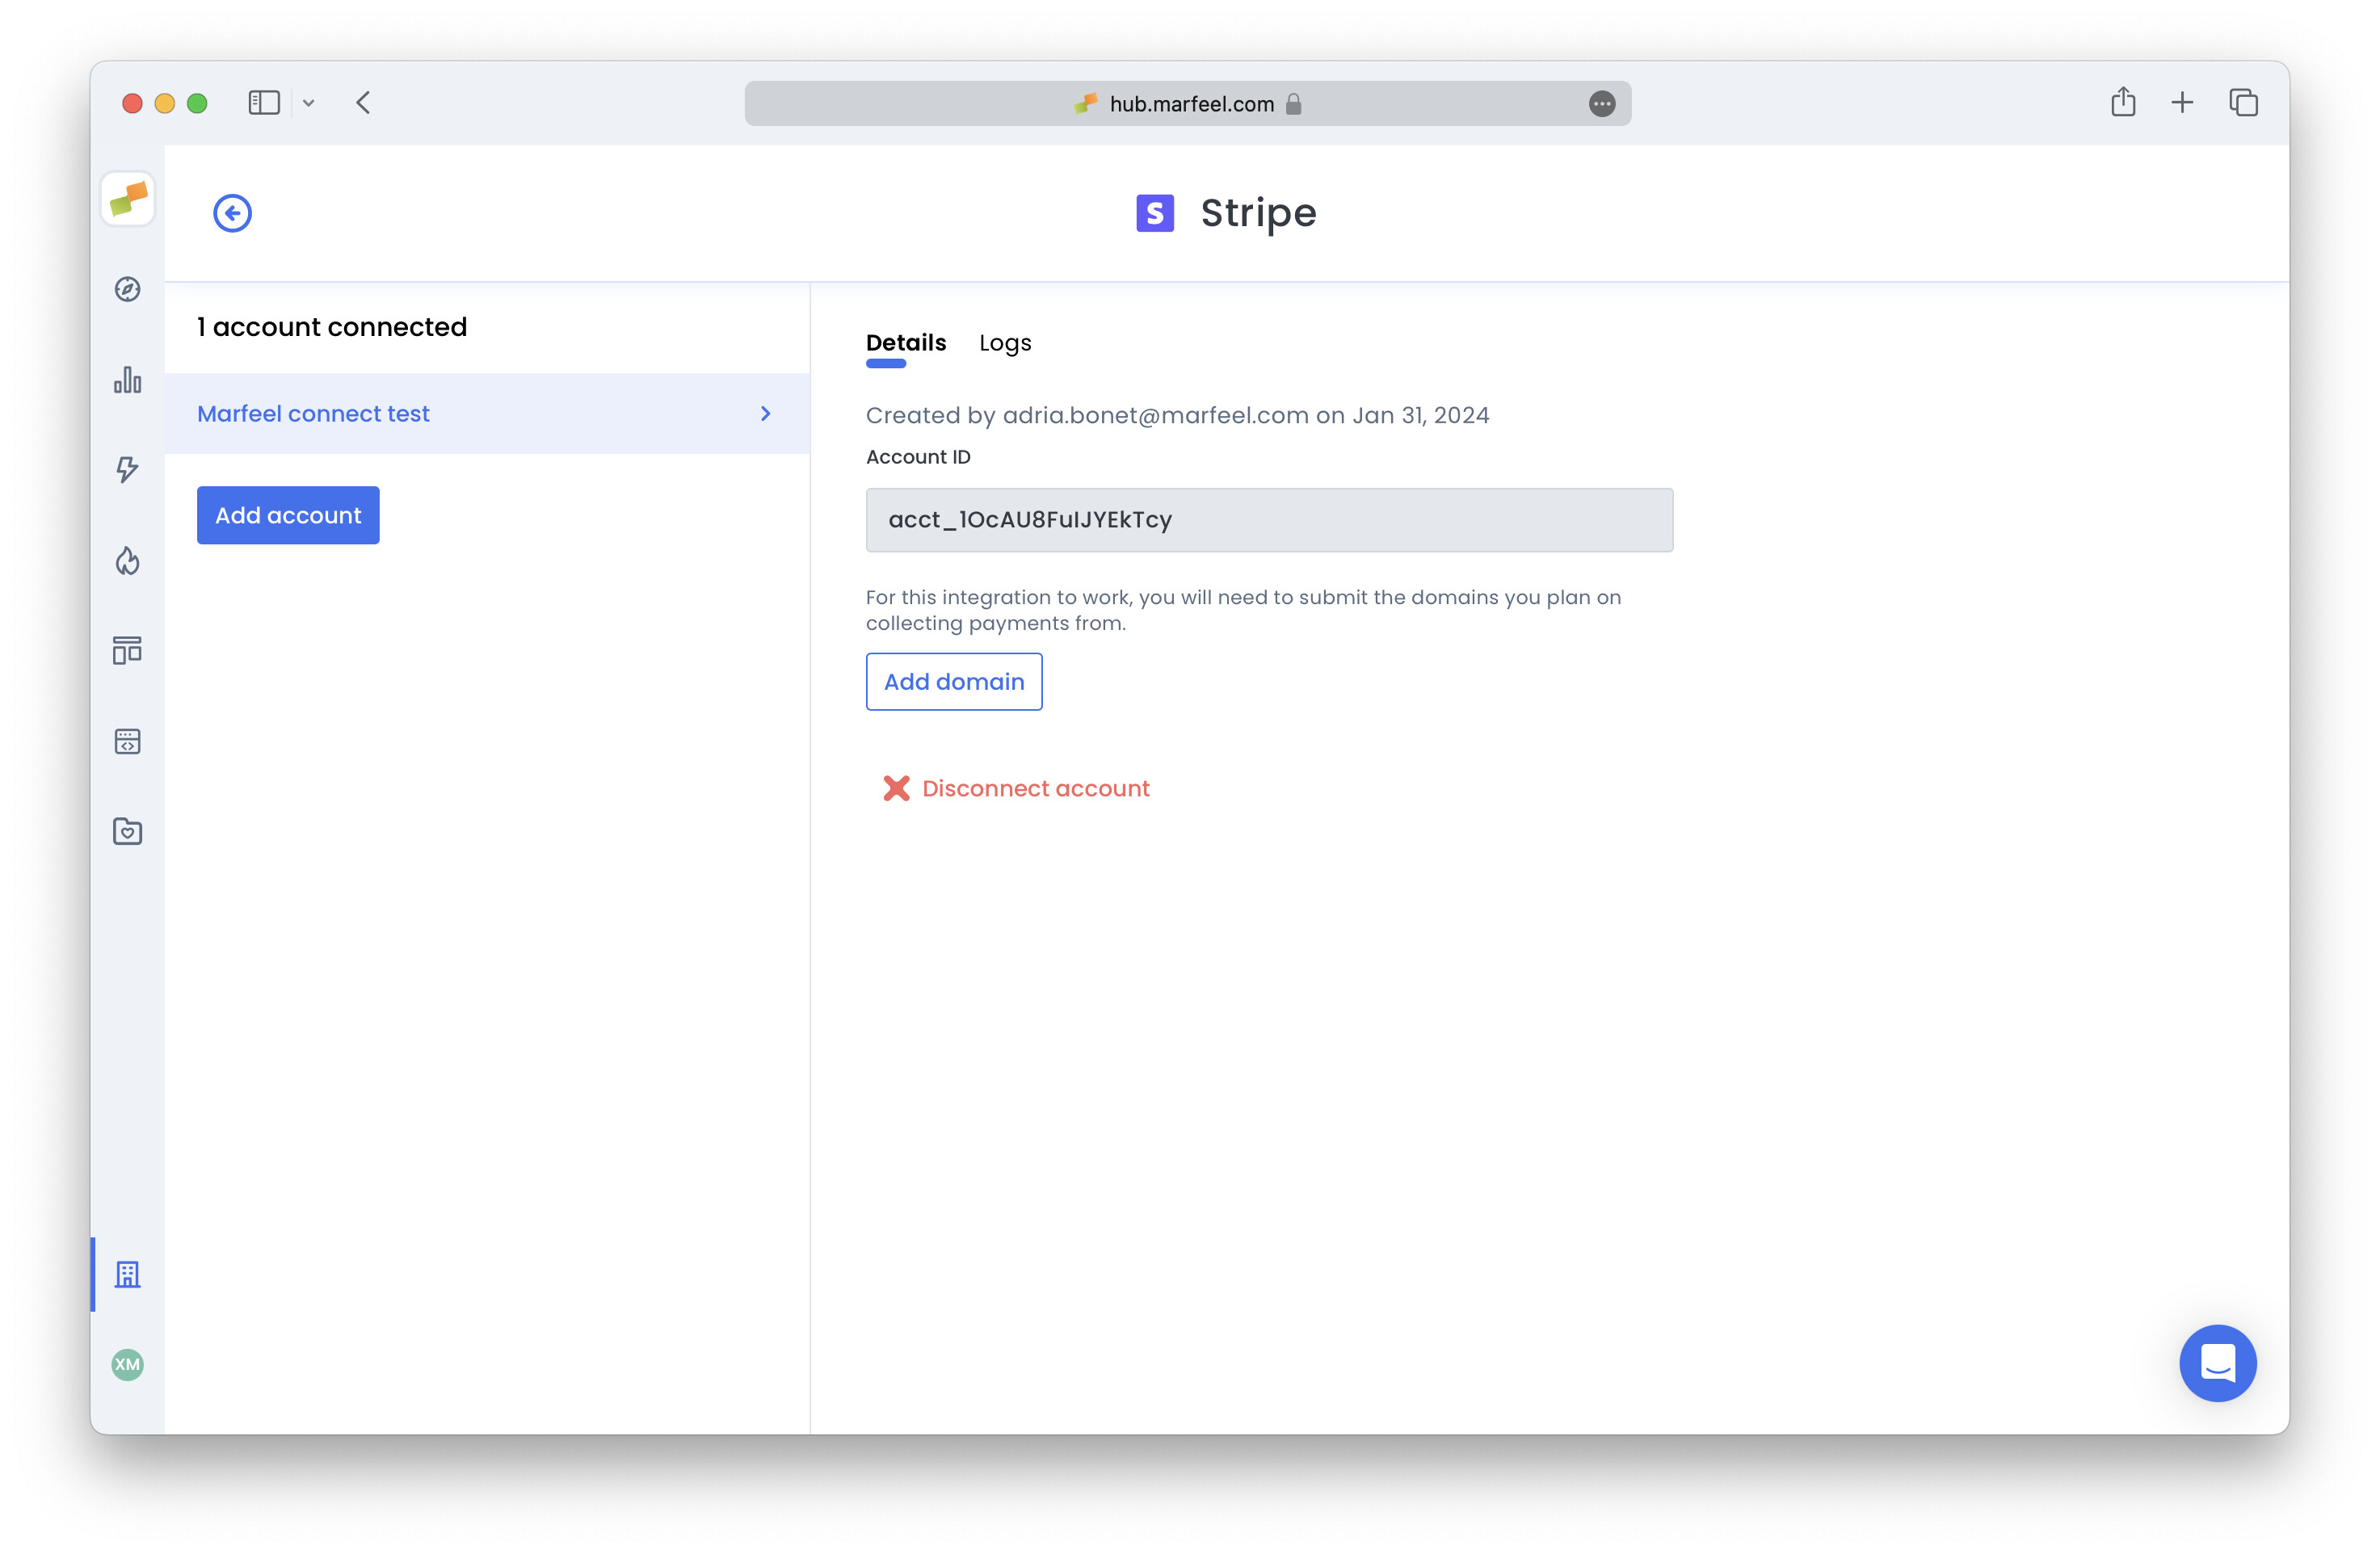
Section titled “Configure your domains on MarfeelPass”Add all planned domains so MarfeelPass transactions process correctly. Follow these steps:
- Navigate to Integrations > Others, click on manage Stripe
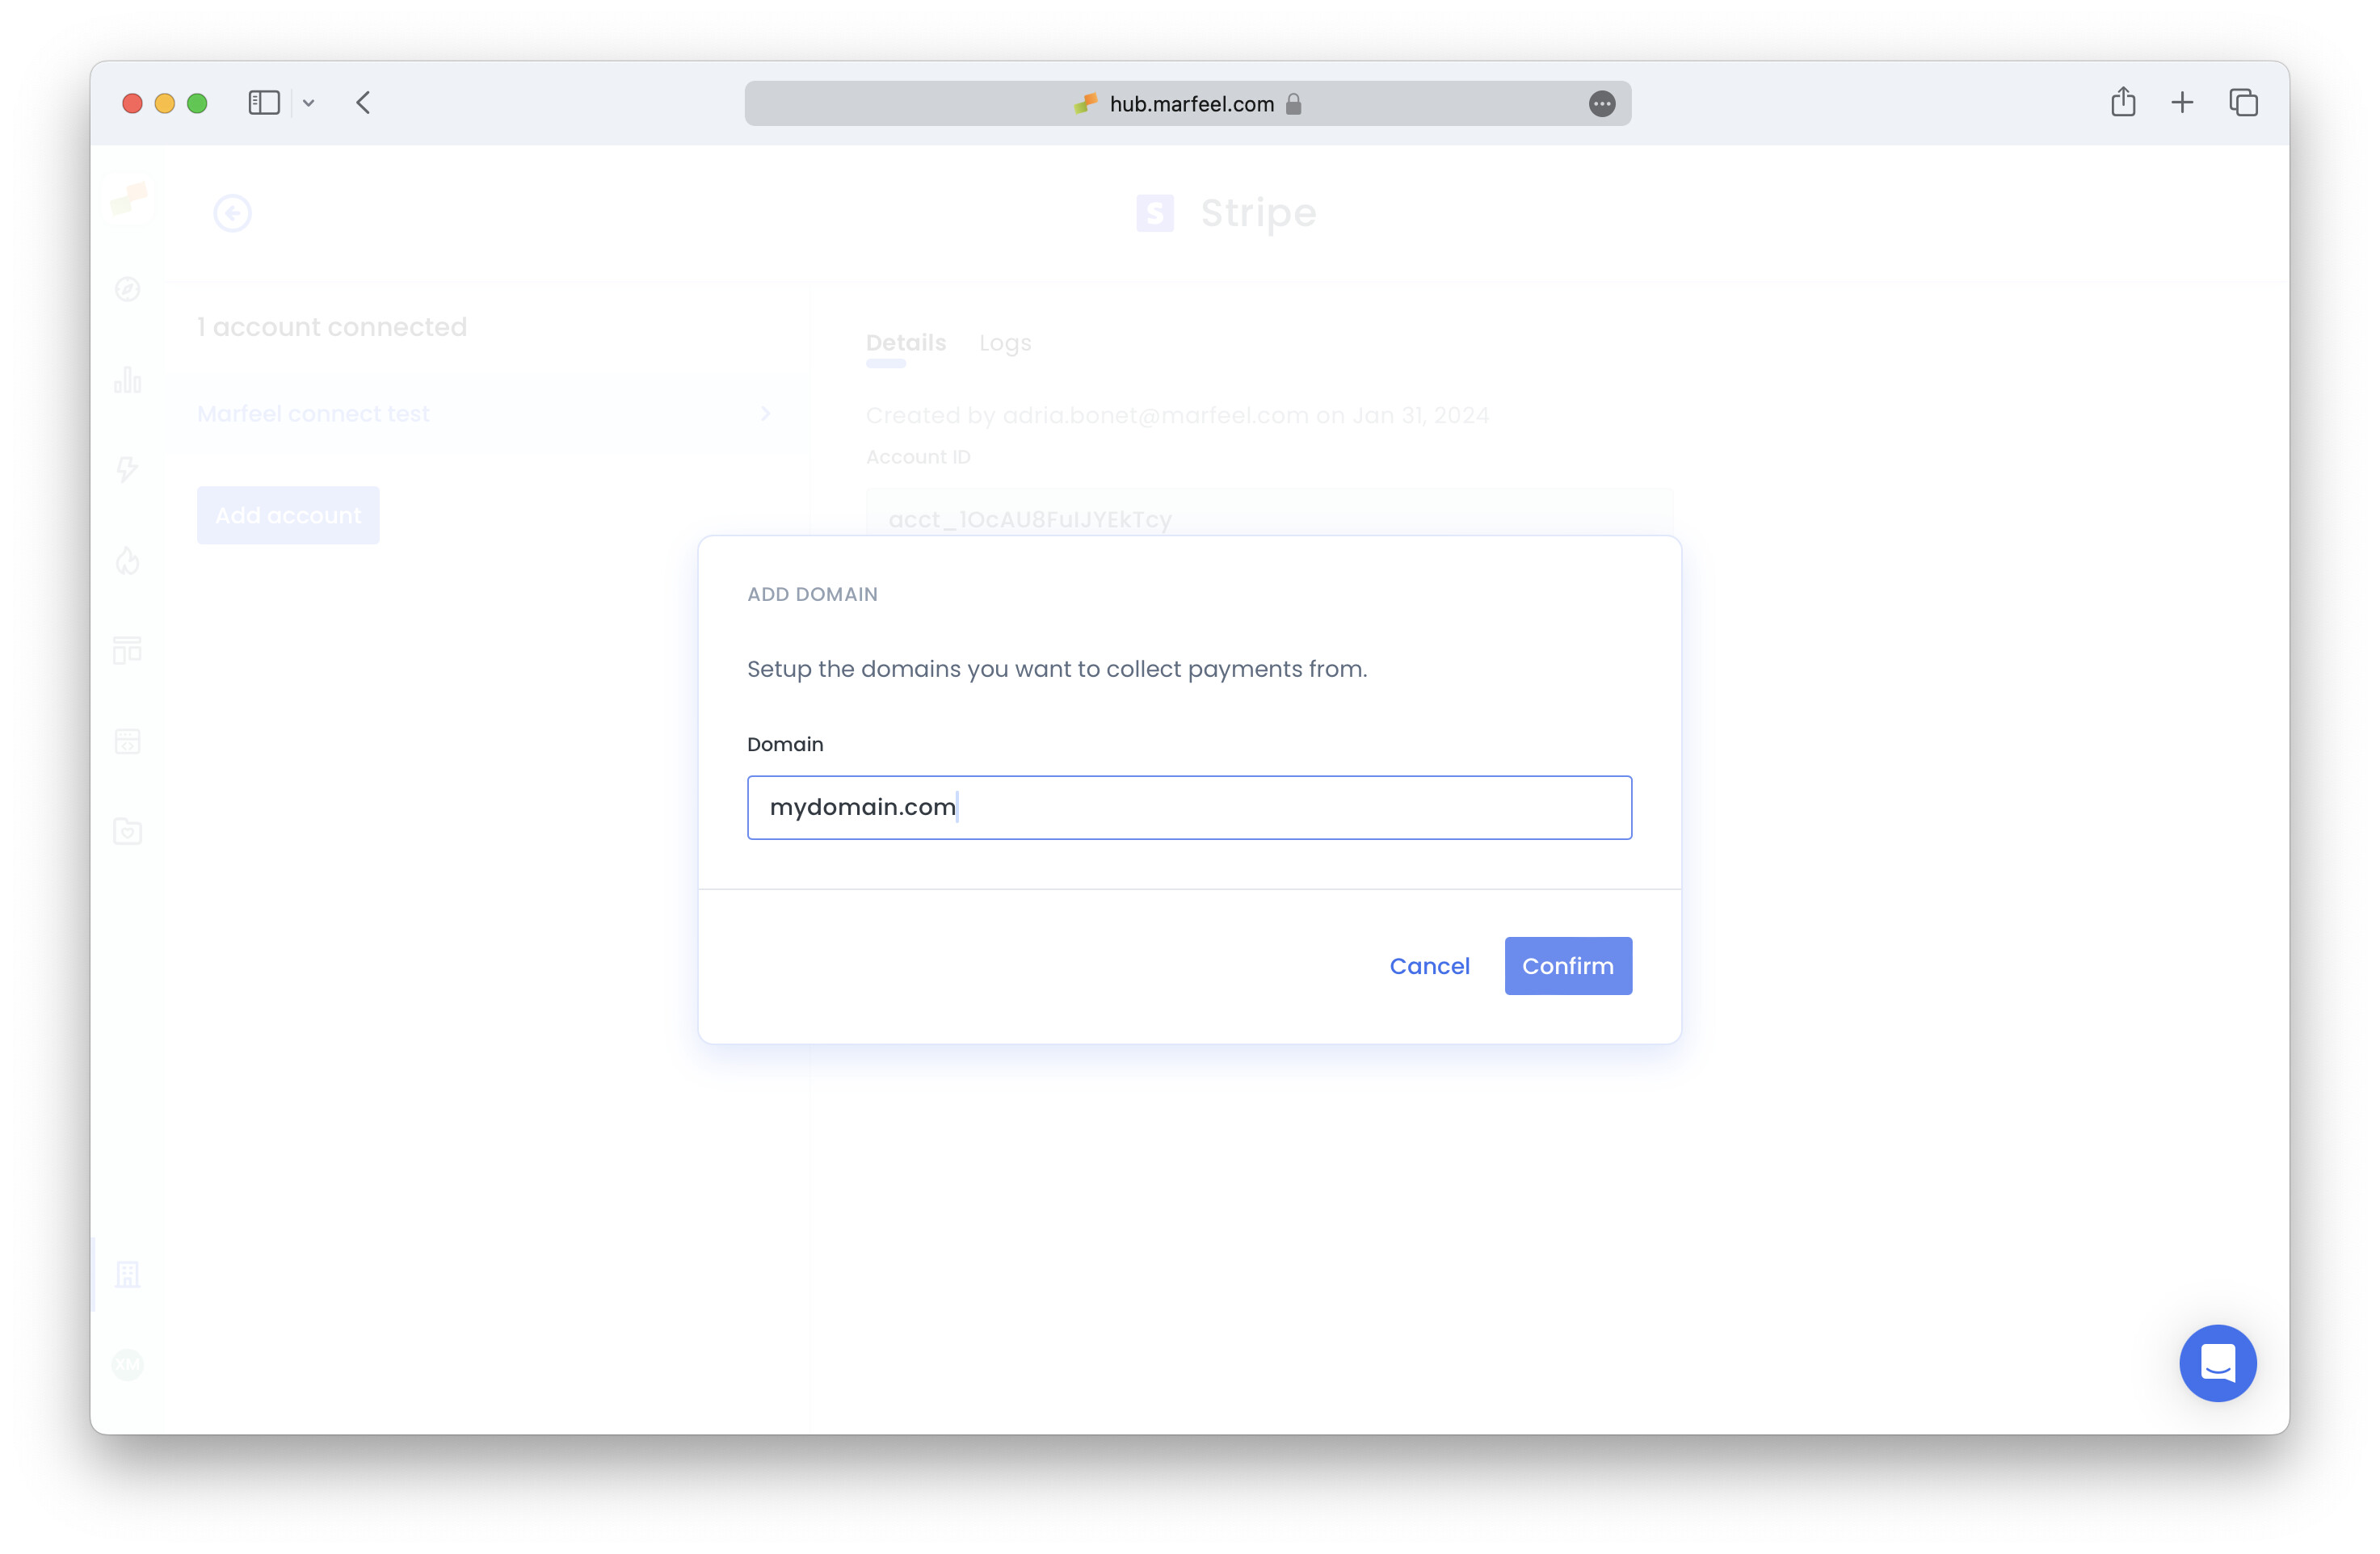
- Add each domain
Verify added domains for Apple Pay
Section titled “Verify added domains for Apple Pay”To authorize Apple Pay payments, perform the following steps:
- Upload the Marfeel MerchantID to your server.
- Once the file is uploaded,
Verifyeach domain.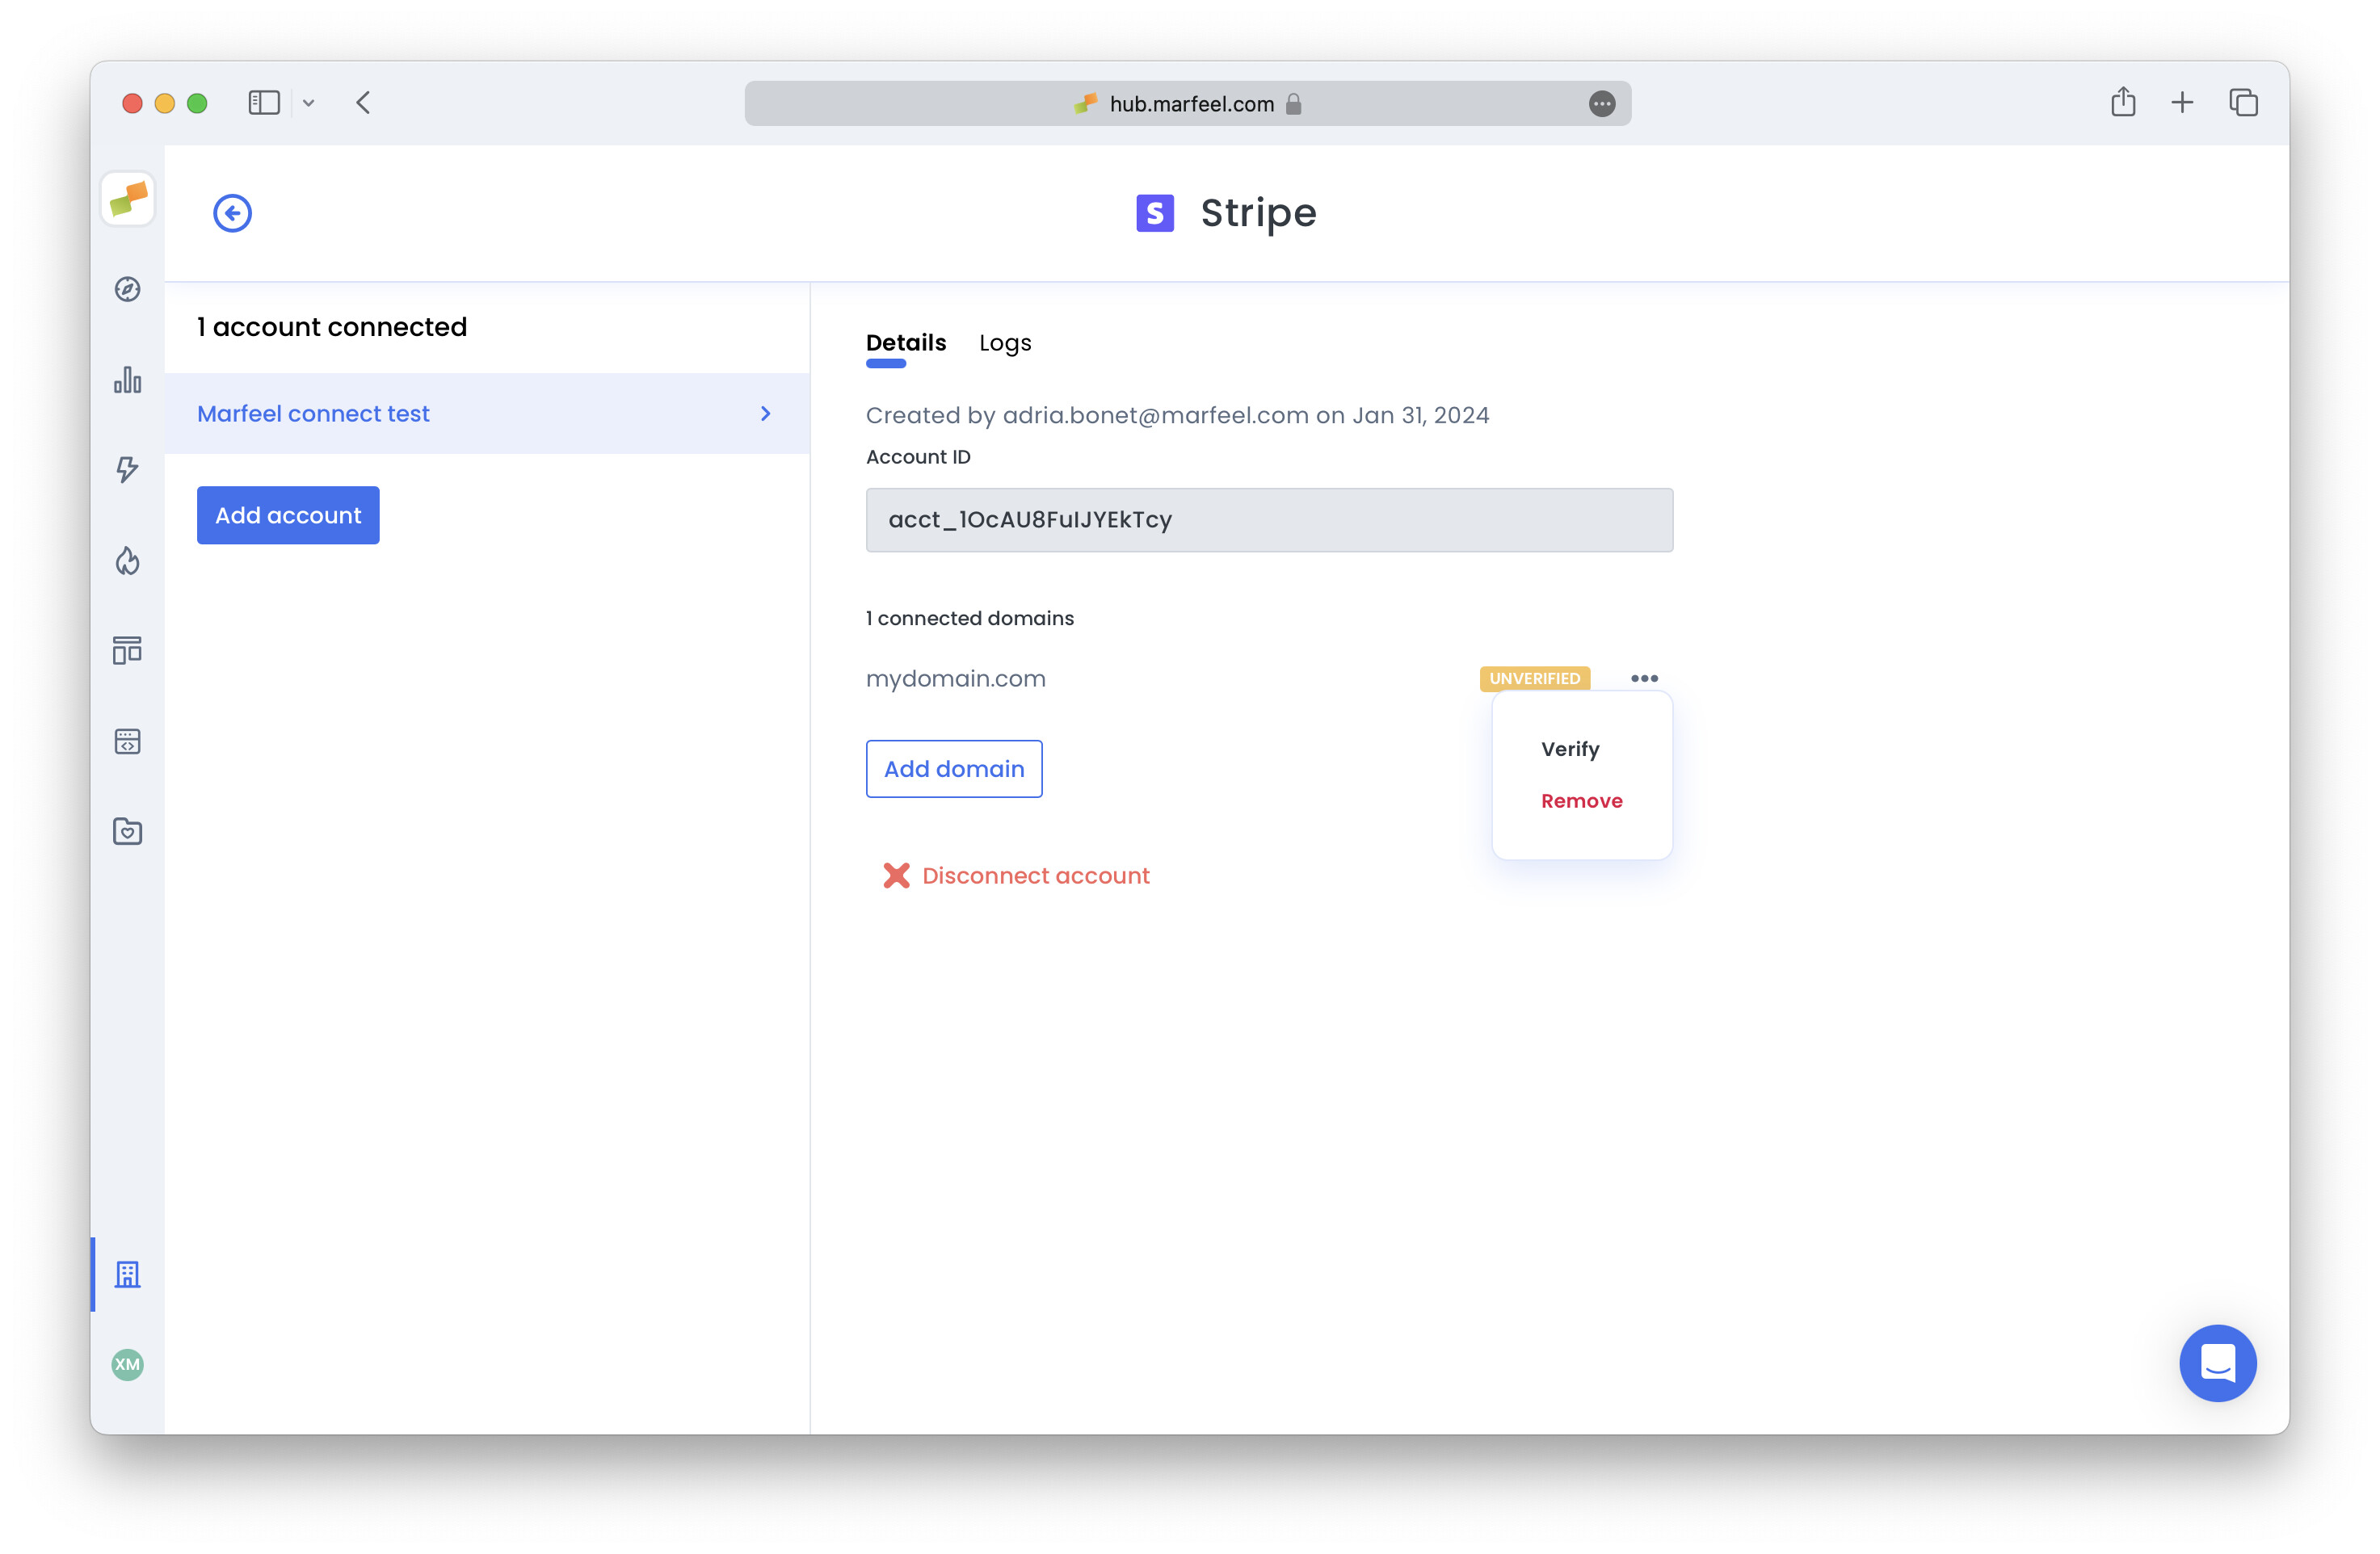
Customize email invoice template
Section titled “Customize email invoice template”Access Public details settings on Stripe and specify the public information you want to include.
More details on Stripe documentation
Are micropayments automatically enabled when connecting Stripe to MarfeelPass?
Yes. Micropayments are automatically enabled when connecting a new Stripe account to MarfeelPass.
Can I resume the Stripe onboarding if I stop midway?
Yes. If you stop the onboarding at any point, you can resume it from the integration panel in the Marfeel Admin Console.
Why do I need to create a new Stripe account for MarfeelPass?
Creating a new Stripe connected account is necessary to inherit micropayments fees from Marfeel, even if you already have an existing Stripe account.